
You will need:
Trimcraft First Edition 8x8 "Black Out" paper pad
Trimcraft First Edition Background die - Chevron
Trimcraft First Edition Tea Party dies
Trimcraft First Edition Bunting dies
Dovecraft 5x7 Window cards (DCCE009)
Dovecraft A4 Silver Mirror Card
Dovecraft A4 Premium Black Card
Dovecraft A4 Premium White Card
Dovecraft Silver Glitter Glue
Simply Creative Round Gems - 35 pack
Simply Creative Round Gems - 90 pack
Dovecraft Crafters Glue
double sided tape
masking tape
die cutting machine
How to make it:

1. Cut a piece of black card measuring 12cm x 17cm and measure 1.5cm in on all sides and remove the centre part to leave a frame. Glue this to the front of the card.

2. From the piece of black card which is left from the frame in Step 1. cut a 9cm square and glue to the inside of the card behind the aperture.

3. Cut a piece of patterned paper measuring 11.5cm x 16.5cm and hold securely in position on the front of the card with masking tape. Do not stick down!

4. Open the card and remove the patterned paper from the inside of the aperture with a craft knife and ruler. Set the patterned paper aside.

6. Attach double sided tape to the front of the card around the aperture.

7. Die cut the Chevron Background die and trim to fit over the double sided tape as shown.

8. Attach the patterned paper to the front of the card with glue, making sure to centre over the aperture.

9. Die cut 2 teapots from the Tea Party die set - one silver and one white. Open the card so that any excess glue does not go on the black card.Thinly spread a little glue onto the white teapot and remove the excess by blotting on paper. Attach to the chevron diecut. Add the sliver leaves and heart from the silver teapot in the same way. Add gems to the teapot and lid.

10. Die cut 6 small bunting shapes and one larger bunting shape from contrasting papers and glue the tops of the shapes as shown below the aperture. Add a large gem in the centre.
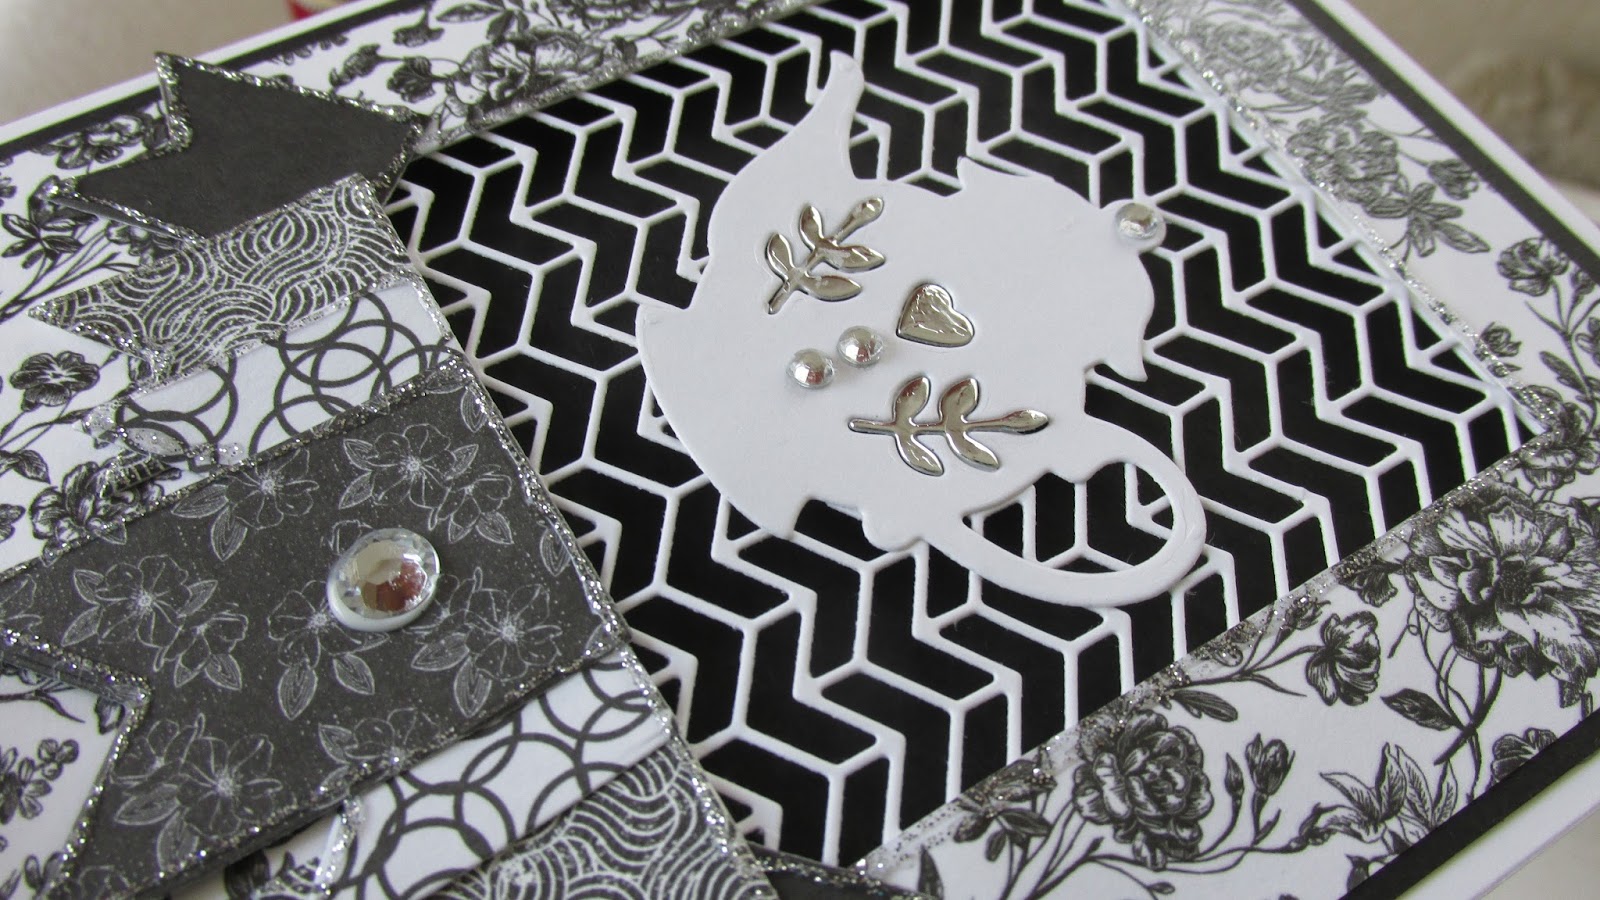
11. Add a fine line of silver glitter glue around the aperture and around the outside edges of the bunting.
12. When the glue dries, gently lift the bottoms of the bunting and flick up slightly to give a little dimension.

No comments:
Post a Comment
Thanks so much for taking the time to leave a comment, it's lovely to hear from you. Ruth